")

Home Pest Inspection Process: Step-by-Step Guide
TL;DR:
- Regular professional inspections help detect pest problems early and prevent costly damage.
- Preparing your home by clearing access points improves inspection accuracy and thoroughness.
- DIY pest control is limited; professional treatment and prevention are essential for effective long-term protection.
Nobody plans for the moment a home inspector flags termite damage during a sale, or when a pest problem quietly grows behind walls for months. For Illinois homeowners, untreated infestations can mean thousands of dollars in repairs and real health risks for your family. Pest damage can spiral fast when warning signs are missed early. This guide walks you through exactly what a professional pest inspection covers, how to prepare your home beforehand, what happens during the visit, and what to do with the report after. Follow this process and you will be ahead of most homeowners in your area.
Table of Contents
- Understanding why pest inspections are essential in Illinois
- Preparing your home for inspection: Steps and checklist
- Step-by-step: What happens during a professional pest inspection
- After the inspection: Reports, treatment options, and prevention
- Why DIY and quick fixes often backfire: A professional perspective
- Partnering with Illinois pest control professionals for peace of mind
- Frequently asked questions
Key Takeaways
| Point | Details |
|---|---|
| Top Illinois pest risks | Illinois homes are prone to termites, cockroaches, ants, rodents, and bed bugs requiring regular inspections. |
| Proper preparation matters | Preparing your home ensures all problem areas are accessible and leads to a more complete inspection. |
| Licensing is required | State law mandates only licensed professionals perform pest inspections and record keeping. |
| Professional beats DIY | While DIY helps with prevention, only a licensed pro can accurately diagnose and treat infestations. |
| Reports guide action | Inspection reports provide clear recommendations for treating and preventing future pest issues. |
Understanding why pest inspections are essential in Illinois
Illinois sits in a climate zone where cold winters push pests indoors and warm, humid summers accelerate breeding cycles. That combination creates year-round pressure on your home from multiple directions. If you own an older home, the risk goes up further because aging foundations, deteriorating wood framing, and outdated weatherproofing give pests more entry points than modern construction.
The five pests most commonly found in Illinois homes are:
- Cockroaches — thrive in kitchens, bathrooms, and wall voids with moisture
- Ants — carpenter ants in particular attack wood with moisture damage
- Rodents — mice and rats enter through gaps as small as a dime
- Termites — subterranean species are widespread across the state
- Bed bugs — spread through travel, secondhand furniture, and shared walls in apartments
The financial stakes are real. Termite damage alone can cost $3,000 to $30,000 or more if left untreated, and that number does not include the cost of repairing cosmetic or secondary water damage that often follows.
| Pest | Primary entry point | Damage type |
|---|---|---|
| Termites | Soil contact, foundation cracks | Structural wood damage |
| Rodents | Gaps in siding, utility lines | Wiring, insulation, contamination |
| Cockroaches | Drains, wall voids, packages | Health hazards, allergens |
| Carpenter ants | Moist or rotting wood | Structural galleries |
| Bed bugs | Luggage, furniture, shared units | No structural damage, health impact |
On the regulatory side, Illinois pest technicians must be licensed by state authorities, which means the person inspecting your home is required to follow defined reporting standards, including documenting inaccessible areas and providing written findings. This protects you legally and makes the inspection report a usable document, not just a verbal walkthrough.
Knowing your local pest regulations also helps you hold an inspector accountable and understand what is covered. Regular inspections let you catch problems early, avoid emergency treatment costs, and maintain your home’s value. With this context, it is easier to understand how to prepare your home and get the most thorough inspection possible.
Preparing your home for inspection: Steps and checklist
Once you understand why inspections matter, the next step is getting your home inspection-ready. Preparation is not just about tidying up. It directly affects what the inspector can access and therefore what problems get found.
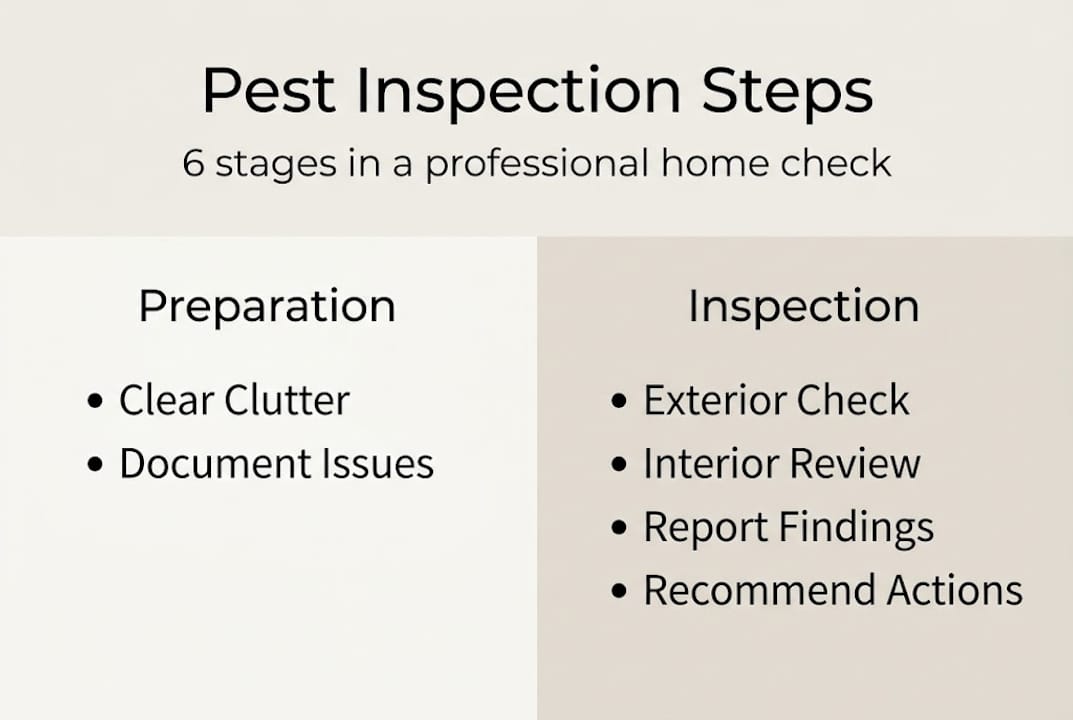
Start with these preparation steps:
- Clear clutter from basements, attics, and crawlspaces so inspectors can move freely and see wall surfaces
- Pull appliances away from walls in kitchens and laundry rooms to expose potential harborage zones
- Remove stored items near exterior walls in garages or sheds that block access
- Cut back shrubs and mulch beds that touch your home’s foundation, since these are common termite highways
- Fix or report any known leaks so the inspector can assess moisture-related risk accurately
- Gather previous inspection reports and treatment records to give the inspector a history of your property
For older homes, pay special attention to areas with original wood framing, stone foundations, or plaster walls. These surfaces hide infestations better than modern drywall, so making them visible is worth the extra effort before the inspector arrives.
“Inaccessible areas, like wall voids and sealed crawlspaces, must be noted in reports — which means an inspector cannot simply skip them without documenting why.”
If you live in an apartment or condo unit in Illinois, prepare the same way but also note any shared walls where activity might be coming from a neighboring unit. Inspectors will factor this into their findings.

Pro Tip: Take photos of any pest activity you have noticed before the inspector arrives, including droppings, damage marks, or discarded insect wings. This helps the inspector zero in on problem areas faster and gives them context your memory might not fully capture.
| Preparation task | Why it matters |
|---|---|
| Clear basement storage | Exposes wall base and floor cracks |
| Remove brush from foundation | Reduces termite bridge risk |
| Gather past treatment records | Helps inspector assess history |
| Fix plumbing leaks | Removes moisture attractant |
| Pull appliances from walls | Reveals cockroach activity zones |
Step-by-step: What happens during a professional pest inspection
Having your home set up for inspection sets the stage for a smooth walkthrough. Here is what to expect, step by step.
- Initial interview — The inspector will ask about any pest sightings, unusual smells, sounds in the walls, or areas where you have noticed damage. Be specific and honest.
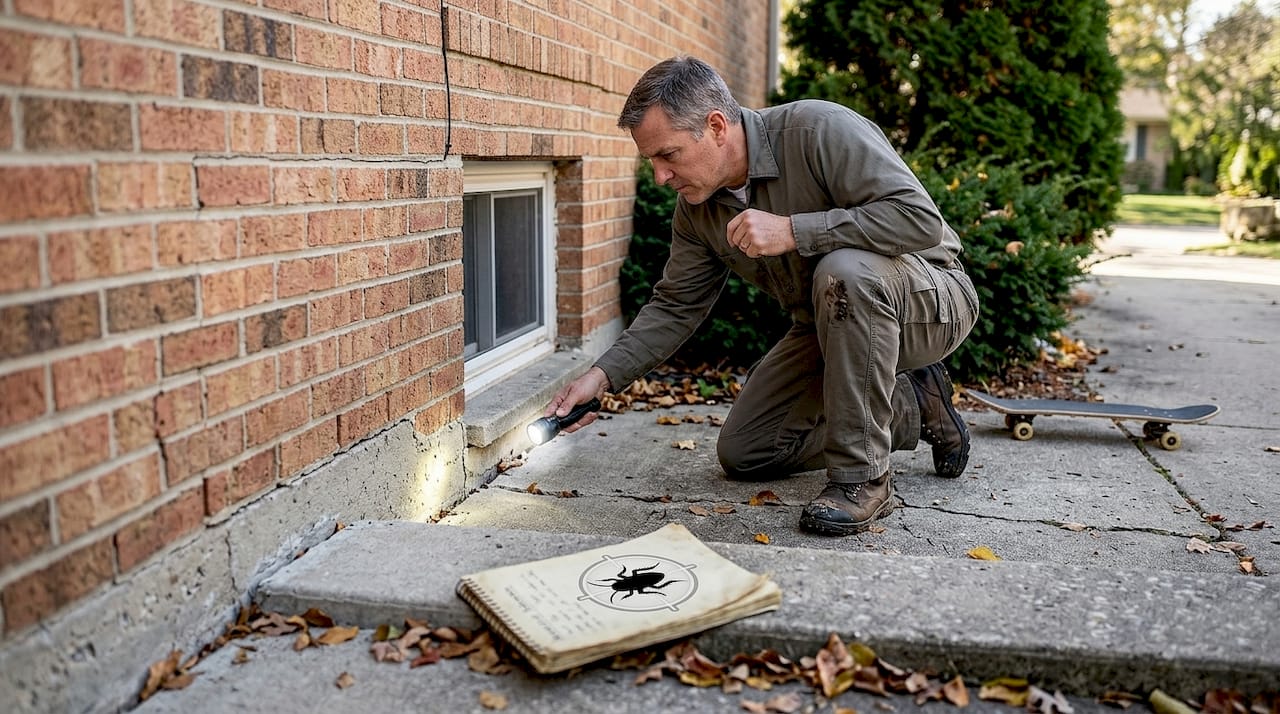
- Exterior survey — Inspectors check the foundation, roofline, siding gaps, window frames, and soil grading. They look for signs of entry, moisture intrusion, and conducive conditions.
- Interior walkthrough — Every room is checked, with particular focus on kitchens, bathrooms, utility rooms, and anywhere with plumbing or wood framing.
- Attic inspection — Rodent activity, wasp nests, and evidence of moisture damage are all checked here.
- Basement and crawlspace — These are prime zones for termites, rodents, and moisture-loving pests. This is where most of the critical findings happen.
- Sample probes and spot checks — Inspectors may use a probe or moisture meter to test wood integrity or identify hidden galleries in suspected areas.
- Report preparation — After the walkthrough, a written report is prepared that details all findings, inaccessible areas, and recommended actions.
Most home pest inspections last 45 to 90 minutes and are effective for catching infestations before they escalate.
| Inspection zone | What inspectors look for |
|---|---|
| Exterior foundation | Cracks, soil contact, moisture |
| Kitchen and bathrooms | Roach activity, plumbing leaks |
| Attic | Rodent evidence, nest material |
| Basement and crawlspace | Termite tubes, moisture, rodents |
| Window and door frames | Entry gaps, wood damage |
Pro Tip: Ask to walk with the inspector during the process. You will learn where your home is most vulnerable and understand the report better when it arrives.
For suspected bed bugs, the inspection process has a few extra steps. Review the bed bug inspection steps to understand what targeted checks look like so you know whether your inspector is being thorough.
After the inspection: Reports, treatment options, and prevention
Understanding each step of the inspection helps you use the report to best effect. Once you receive the written findings, here is how to read and act on them.
A standard inspection report includes:
- Confirmed findings — species identified, activity level, and location within the home
- Suspected but unconfirmed issues — areas that show conducive conditions but no direct evidence yet
- Inaccessible areas — sections of the home that could not be visually checked, and why
- Recommended actions — broken into immediate treatments and longer-term prevention measures
- Legal disclaimers — standard language about the scope and limits of a visual inspection
When it comes to treatment, there is a real difference between immediate control and ongoing prevention. Immediate control addresses an active infestation. Prevention focuses on making your home less hospitable going forward. Both matter, and mixing them up leads to incomplete results.
DIY approaches are limited to prevention tasks like sealing cracks, removing food sources, and reducing moisture. For any active infestation, professional control is necessary to identify and treat the problem correctly.
Common mistakes homeowners make after an inspection:
- Delaying treatment because the infestation looks minor
- Ignoring warnings about inaccessible areas without scheduling follow-up access
- Treating only the visible problem without addressing what attracted the pest
Pro Tip: If your report flags termite activity or high-risk conditions, ask about termite barrier practices as a longer-term protective measure. A barrier treatment can significantly reduce reinfestation risk in Illinois soil conditions.
For ongoing protection, ask your pest control provider about a seasonal prevention schedule built around Illinois pest activity patterns. Pair that with your inspection report’s recommendations, and you have a practical roadmap to general pest treatments that keeps problems from coming back.
Why DIY and quick fixes often backfire: A professional perspective
Here is something most pest guides will not tell you directly: having a thorough inspection report in hand does not automatically lead to good outcomes. The gap between a solid report and real protection is what happens next, and that is where many homeowners get tripped up.
The appeal of a quick fix is obvious. You see a roach, you buy a spray. You spot a mouse, you set a trap. But pests operate inside your walls, under your slab, and in spaces you will never look at without professional equipment. A single visible pest is almost always a sign of a much larger, hidden population.
Proactive integrated pest management focuses on removing the root causes of an infestation rather than reacting to surface symptoms. That means addressing moisture, entry points, and food sources alongside any treatment. A licensed professional evaluates all of these layers together.
For complex infestations like termites, bed bugs, and rodents, DIY approaches routinely fail because these pests are specifically good at surviving partial treatments. Bed bugs, for example, can survive standard over-the-counter sprays by retreating deeper into wall voids and returning weeks later. Termites recolonize from adjacent soil when only part of the colony is disturbed.
We recommend integrated pest management as the foundation for any serious pest protection plan. It delivers better long-term outcomes than reactive chemical applications, and it is also what modern Illinois regulations favor. The right inspection is only the first step. What you do with it is what actually protects your home.
Partnering with Illinois pest control professionals for peace of mind
A thorough inspection gives you a clear picture of where your home stands, but acting on it with the right professional makes all the difference. BugEvicta Pest Control works with Illinois homeowners to identify, treat, and prevent the exact infestations that show up most in local homes.
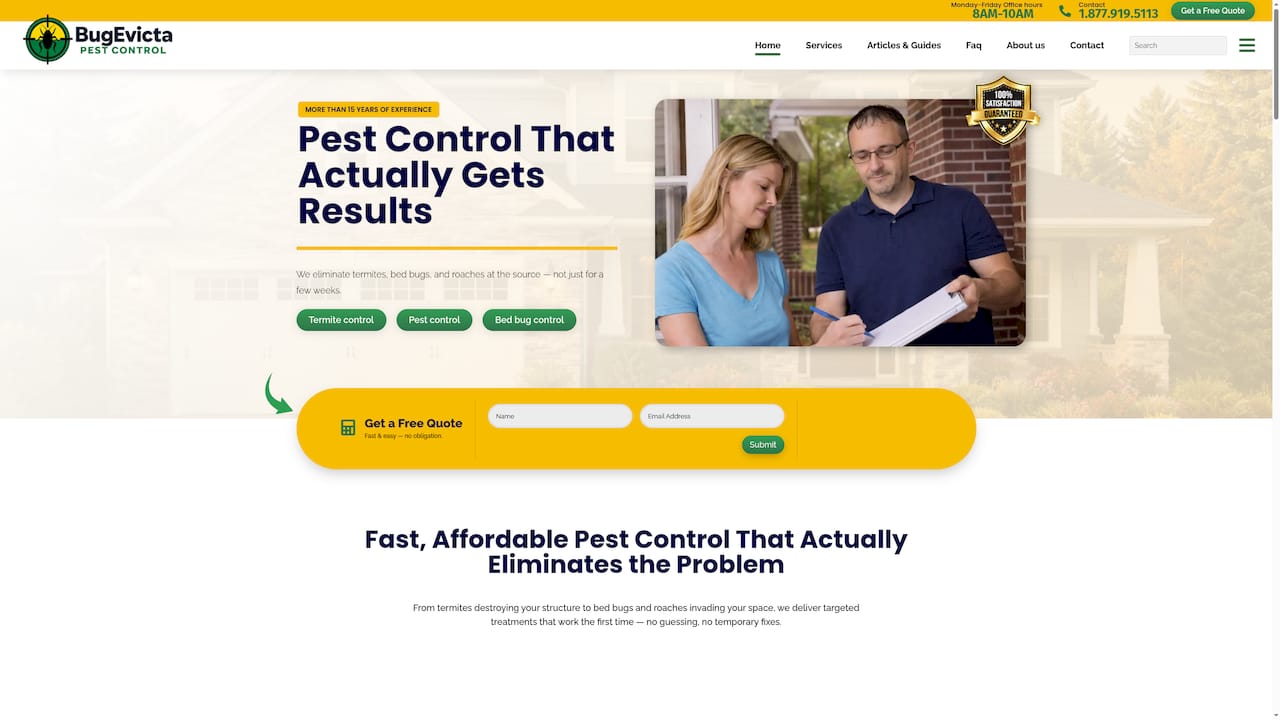
Whether your inspection revealed active termites, signs of rodents, or conditions that increase your risk, we have the experience and local knowledge to address it correctly. Our Illinois termite exterminators and local pest control experts follow a structured process that matches treatment to the actual problem rather than applying a one-size-fits-all approach. Visit BugEvicta to get a quote or schedule your inspection today and protect your home before a minor issue becomes a costly repair.
Frequently asked questions
How long does a typical home pest inspection in Illinois take?
Most Illinois home pest inspections last 45 to 90 minutes, depending on the size and complexity of your property.
Which pests are most commonly found during Illinois home inspections?
Termites, cockroaches, ants, rodents, and bed bugs are the most common pests detected in Illinois homes during professional inspections.
What licensing or certification does an Illinois pest inspector need?
In Illinois, pest technicians must be licensed by state authorities including the IDPH and IDOA before conducting inspections or treatments.
Can I do my own pest inspection or do I need a professional?
DIY is limited to prevention tasks like sealing entry points, but only a licensed professional can properly identify and treat active infestations.
How much does a termite inspection cost in Illinois?
Annual termite inspections typically cost $100 to $400 in Illinois, but catching termites early can save you $3,000 or more in structural repairs.
