")

A pest inspection works best when your home isn't hiding the same places pests use, paving the way for a pest-free home. You don't need to scrub every inch. You need to make pest inspection preparation simple, focused, and easy on yourself.
A few smart steps can make the visit smoother, from clearing baseboards to securing pets. When the professional technician arrives, a prepared environment ensures they can work effectively. The goal is visibility, because they can't check what they can't reach.
Key Takeaways
- Focus on access and visibility to pest hotspots like baseboards, attics, crawl spaces, kitchens, bathrooms, garages, and utility areas rather than deep cleaning the whole house.
- Gather and share notes or photos of pest signs (sightings, droppings, damage) without spraying or moving suspicious items right before the visit.
- Clear outdoor paths around the foundation, trim touching vegetation, and move storage away from walls for a complete inspection.
- On inspection day, secure pets, turn on lights in dark areas, and point out your main concerns to the technician.
- Tailor prep to the suspected pest—rodents need attic/garage focus, termites need foundation access, bed bugs need bed/baseboard clearance.
Pest inspection preparation starts with access
Think of it like moving boxes before an electrician checks a bad outlet. Less guessing means a better look at the real problem. Most homeowners start with cleaning, but interior and exterior access matters more than sparkle.
If you want a second opinion on the basics, this pest inspection checklist lines up with what many pros ask for before a visit.
The indoor spots people forget
Focus on the edges of the home first. That's where inspectors often look for droppings, shed skins, moisture, rub marks, and entry gaps. In other words, don't spend an hour polishing the coffee table while boxes still block the garage wall.
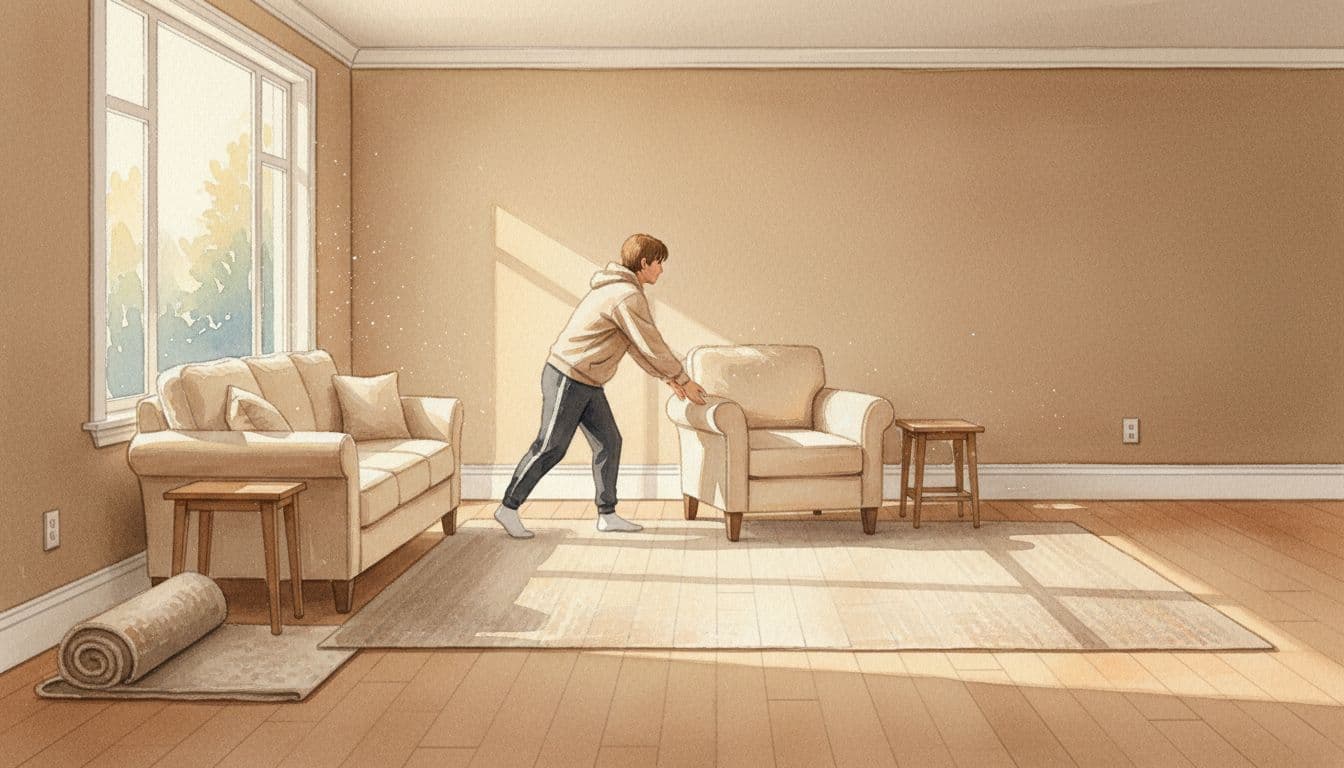
- Move furniture a few inches from baseboards in rooms where you've seen activity.
- Clear space under kitchen and bathroom sinks, and around toilets, tubs, and floor drains.
- Open a path to attic access, crawl space doors, basements, garages, and utility areas near the furnace, water heater, washer, and electrical panel.
- Move stacked boxes, pet food bins, and stored paper if they block baseboards or corners.
- Give the inspector a view behind large appliances if you can do it safely.
Kitchens, bathrooms, and utility rooms deserve extra attention because moisture and plumbing lines attract many pests. A few minutes spent clearing kitchen cabinets and around the dishwasher, washer hookups, and water heater can help the inspector check for moisture issues near plumbing and trace activity faster.
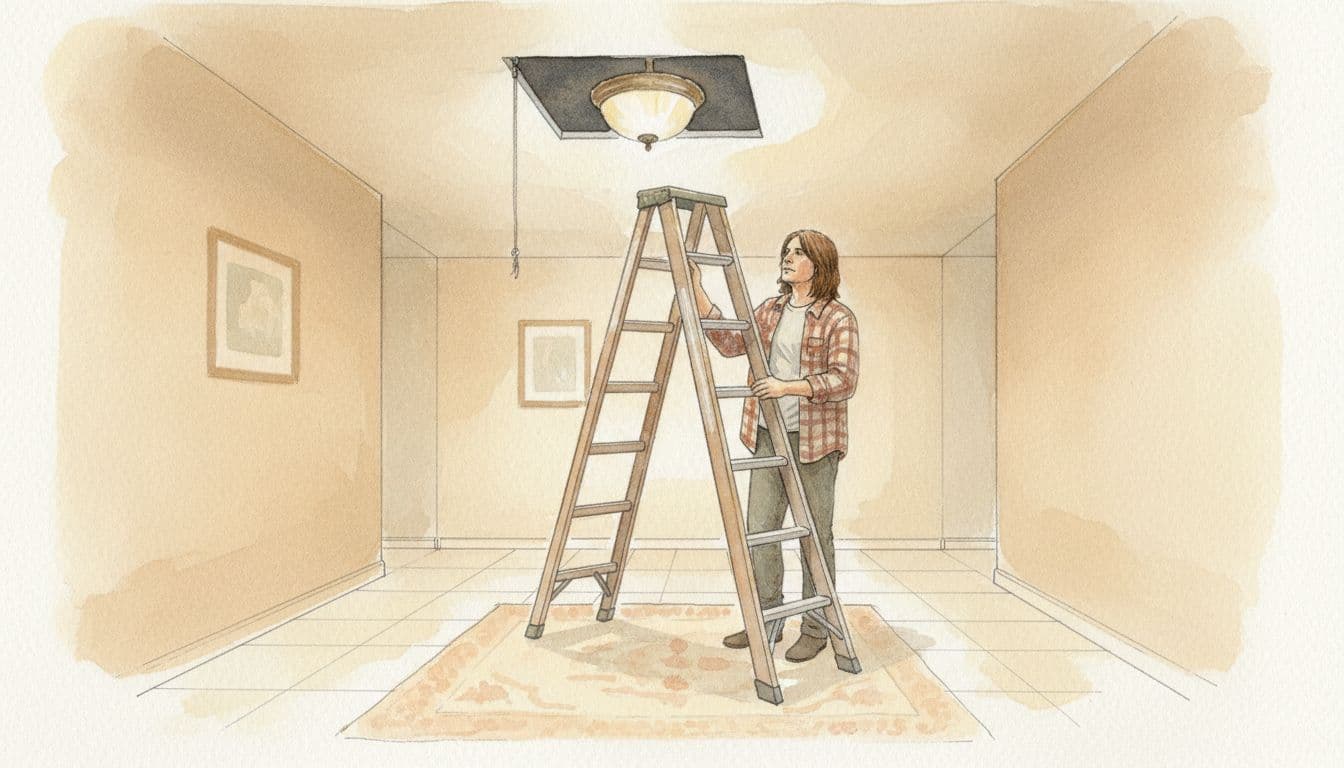
For attics and crawl spaces, make safe access possible. Set out the ladder if needed, move holiday bins away from the attic access, and clear a path wide enough for tools and a flashlight.
You don't need a spotless house. You need a clear path to the places pests hide.
Clutter matters most at floor level. So, if time is short, clear clutter near walls, beds, closets, laundry areas, and make foundation walls in garages visible. Open cabinet doors if you suspect ants or roaches, and keep pantry items tidy enough to inspect without unloading the whole room.
Gather signs of infestation before the visit
A little note-taking helps identify problem areas and saves time. Write down where you saw pests, what time of day, and how often it happens. Photos help, especially if the activity comes and goes. You don't need a perfect diagnosis. You only need to note the signs of infestation.
Simple details can point the inspection in the right direction. "Scratching above the hall ceiling at night" tells a different story than "ants near the dishwasher after rain." Chewed packaging, odd smells, grease marks from cockroaches, damaged wood, or fresh dirt near cracks are all worth mentioning.
Try not to spray the area right before the appointment. You also don't need to deep-clean every sign away. A wiped-out trail can make identification harder. If you find a dead insect and can collect it safely, place it in a sealed bag or sealed containers.
Don't move suspicious items from room to room either. That can spread pests or remove context. If one bedroom seems to be the issue, leave it set up much like normal unless your provider tells you otherwise.
Match your prep to the likely pest
Prep can change by pest type. Rodent inspections often focus on attics, garages, food storage, and utility lines. Termite or ant concerns may require easy access to the foundation, crawl spaces, damp wood, or porch areas. A termite inspection is often a requirement for a VA loan or general home inspection, where the pro looks for termite activity, including wood damage and mud tubes. Bed bug inspections usually need clear access to beds, baseboards, upholstered furniture, and nearby clutter.
If bites or rust-colored marks on bedding are part of the story, it helps to review what bed bug treatment costs in Quincy before the visit. Apartment residents can also scan these Quincy apartment bed bug tips, because shared walls and common spaces can change where an inspector needs to look.
Make outdoor areas and inspection day easy
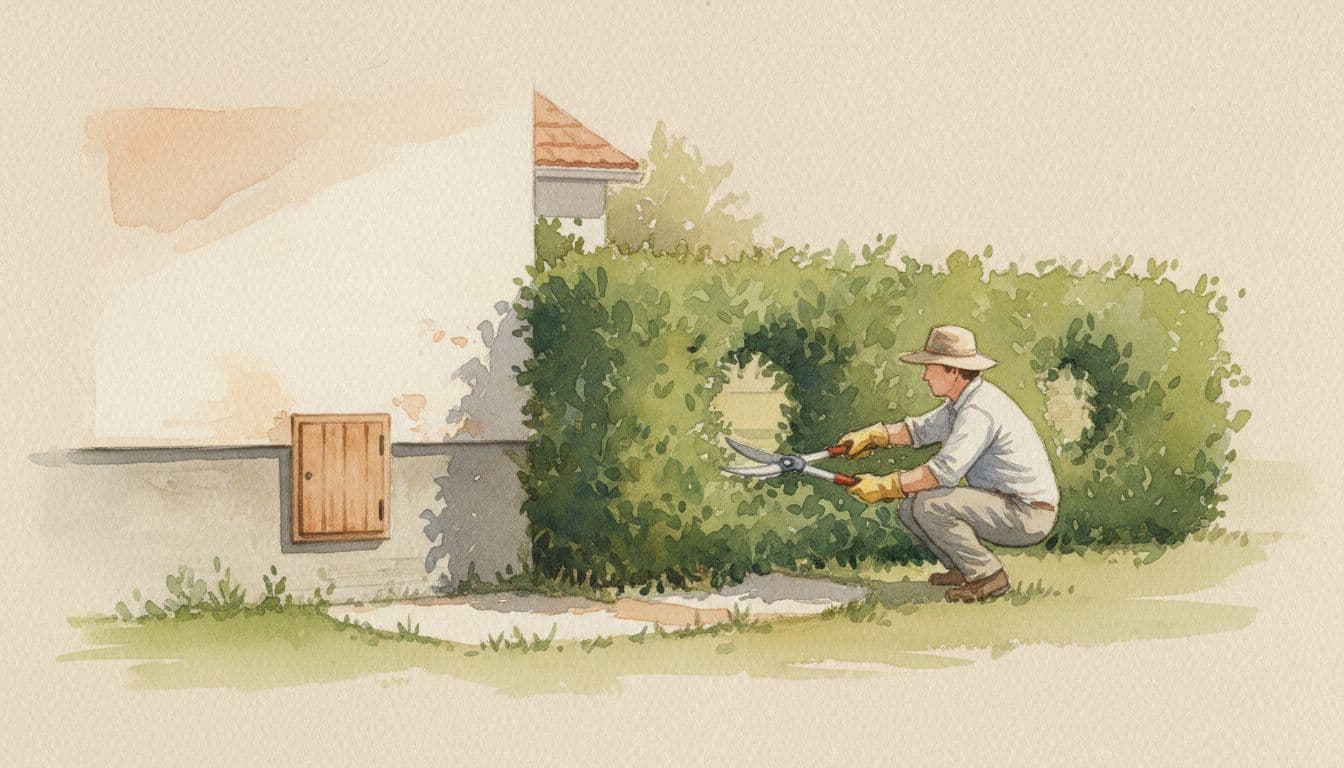
Indoor prep matters, but many pest problems start outside. Trim vegetation that touches the siding. Move firewood, leaf piles, and stored items away from the foundation if they block a close look at exterior walls. Unlock gates, clear the path to sheds, and make vents, crawl space openings, hose spigots, and door frames easy to reach.
Outside, think about the full path the inspector needs to walk. That may include along the foundation, around air-conditioning lines, behind shrubs, and up to deck posts or porch steps. Wet mulch, thick vine growth, and tightly stacked storage can hide the exact areas they need to see.
The same idea applies in the garage. If possible, create a little space around stored cardboard, wall edges, and the door that leads into the house. Those transition points often reveal how pests are getting in.
A simple day-of checklist
Keep the visit calm and practical:
- Ensure the safety of pets in a closed room, carrier, or off-site location.
- Keep children out of the technician's path when possible.
- Turn on lights in darker areas, especially basements, attics, and utility spaces.
- If bed bugs are suspected, vacuum thoroughly before the visit.
- Share your notes at the start, then mention the rooms or exterior spots that worry you most.
If you won't be home, confirm the access plan ahead of time. Also ask whether the company has special instructions, because prep can vary by pest and provider. Some inspections need an attic ladder ready. Others may ask you not to move suspected bed bug items at all.
If you're dealing with sudden bites or fast-moving activity in a sleeping area, an emergency bed bug removal service may be the better next step. For a broader look at how pros handle appointment prep, this 2026 pest control preparation checklist shows how often the same basics come up: access, visibility, and a safe work area.
A good property assessment doesn't start when the technician knocks. It starts with clear access and a few useful notes.
When baseboards, attics, crawl spaces, kitchens, bathrooms, garages, and interior and exterior entry points are easy to check, the visit becomes more useful and less stressful. That won't promise a specific outcome, but it does give your pest management professional the clearest view of what's going on.
Frequently Asked Questions
Do I need to deep clean my entire house before a pest inspection?
No, you don't need a spotless house. Prioritize clearing access to baseboards, under sinks, attics, and utility areas where pests hide. The goal is visibility for the inspector, not sparkle.
What indoor areas should I prepare most?
Focus on edges first: move furniture from baseboards, clear under sinks/toilets, open paths to attics/crawl spaces/garages, and expose areas around appliances and plumbing. Kitchens, bathrooms, and utility rooms get extra attention due to moisture. Keep clutter off floor-level walls and corners.
Should I spray pesticides or clean up pest signs before the visit?
Avoid spraying right before, as it can erase trails and make identification harder. Note sightings, take photos, and collect samples if safe, but don't move items between rooms. Share these details with the inspector for better targeting.
How do I prepare the exterior for inspection?
Trim vegetation touching siding, move firewood/leaves/storage from the foundation, unlock gates, and clear paths to vents, crawl spaces, and structures like decks. Make foundation walls, AC lines, and entry points visible. In garages, space out cardboard and expose wall edges.
What should I do on the day of the pest inspection?
Secure pets in a safe spot, keep kids out of the way, turn on lights in basements/attics/utilities, and vacuum if bed bugs are suspected. Share your notes upfront and highlight worry spots. Confirm access if you're not home.
